Features Press Samples
I am so, so relieved to finally share that our lounge renovation is complete! It has been a long time coming (seriously, when you plan to renovate a room, add on at least a month to your estimated timeframe and it will be much easier to cope with) and not without drama – I am so done with plasterers at this point, but yes, all done and I am going to share what we did step by step with you in this post.
Let me start by saying that our original budget was blown out of the water by having to pay for plastering to be done twice (don’t get me started), but I do feel we did this room on a fairly strict budget, especially when we opted for charity shop finds in place of buying new furniture, so hopefully it provides some inspiration for others looking to renovate without breaking the bank!
So we stripped the walls and ceiling (hello polystyrene ceiling tiles again) ourselves to keep the costs down, before we employed a plasterer to get everything nice and smooth for the paint to go on… First issue encountered. The ceiling was apparently distempered and, instead of pushing for us to have the ceiling boarded up as he should have done, the plasterer instead just did the plastering on a ceiling that was never going to stick… So then we had to get another plasterer back to do the plasterboard and re-plaster the ceiling again! This meant we paid almost £1k on plastering…. ridiculous! Plastering finally done, we could at last get our painting done. A friend, who is a painter by trade, very kindly painted our walls and ceiling for us using our paint, gifted from Victory Colours, so we saved money there. The colour of blue we went for, Hyacinth Bucket, was a little too bright for me initially, but once the furniture and floor were all done, I actually loved it, so I’m glad we persevered with it!
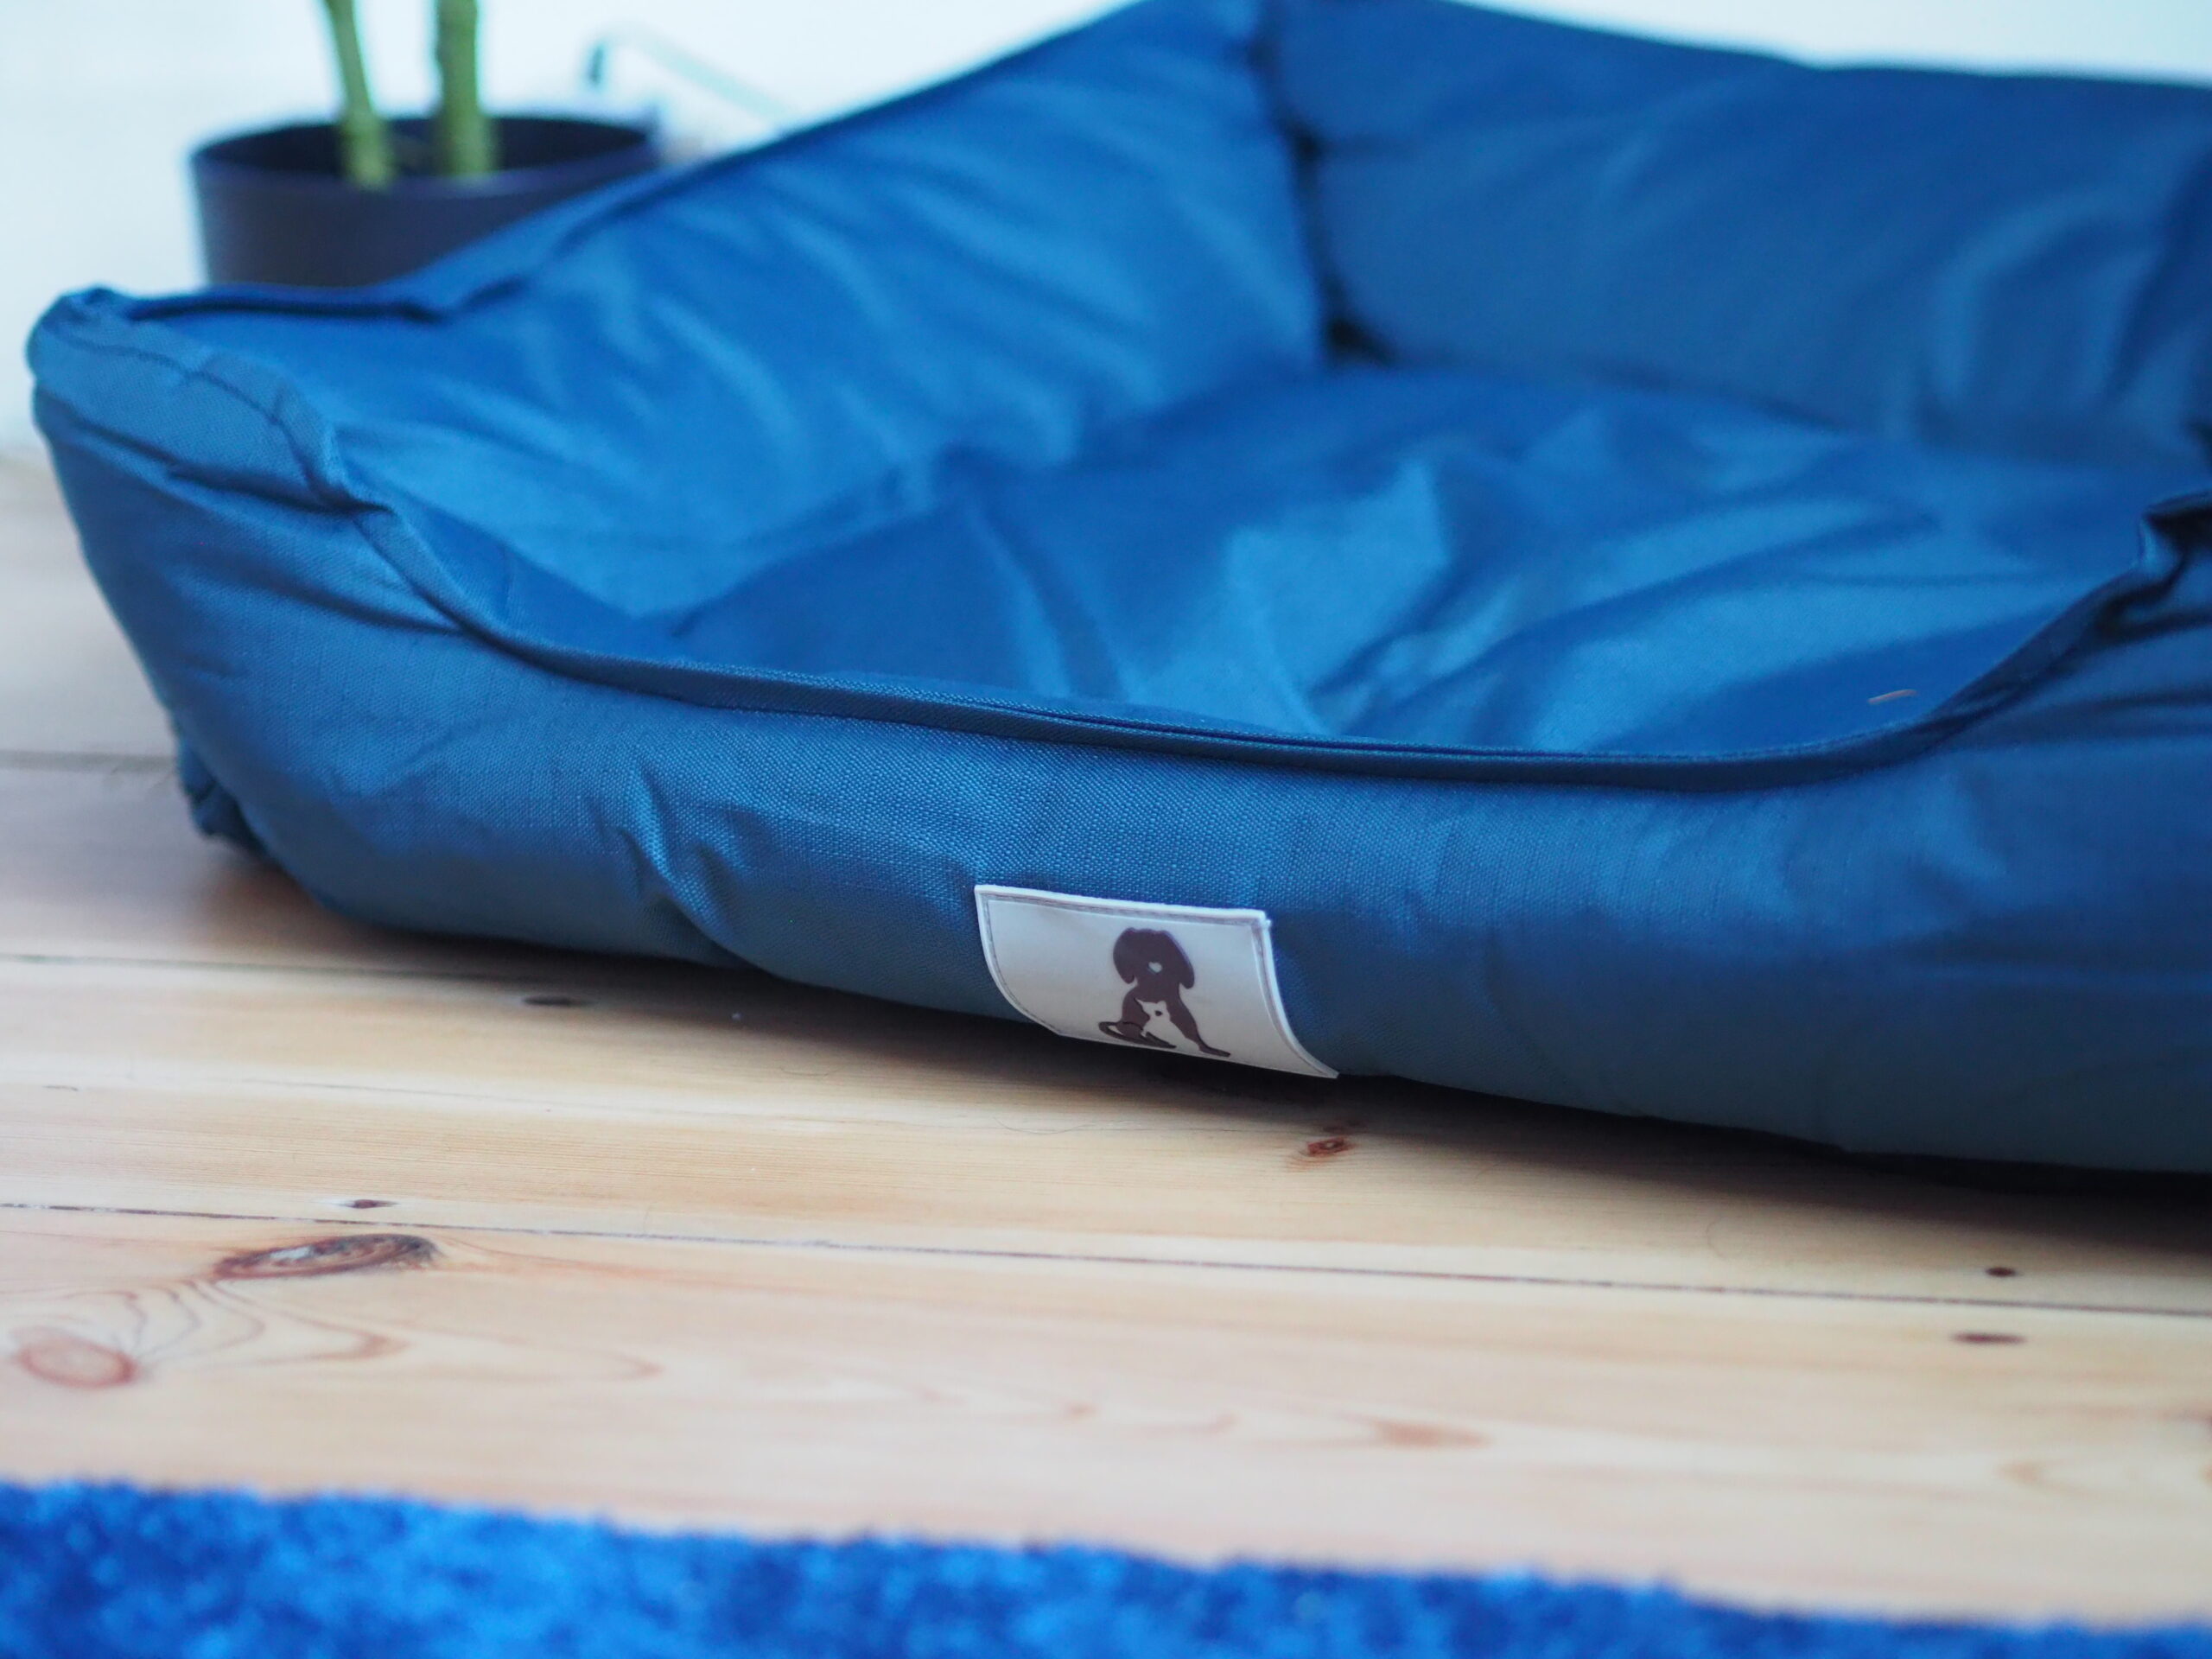
After the painting was done, it was time for the flooring. Our second problem was a long wait time to have this done. We had our existing floorboards repurposed, stripping them back and then glossing them to leave us with Hardwood Flooring, which look so nice! I’m really pleased we went for this finish instead of carpet as Bella lives primarily in the lounge, and it just isn’t feasible to have a nice carpet with a dog around, especially one who likes her long muddy walks and to shed her black fur. The wooden floor is gorgeous, although it was the second biggest cost at around £800 (and that was with a discount as we knew the guy – eek)!


Instead of curtains, we decided to have electric blinds, which were bought from Blinds2Go and cost £450. They were made to measure, and I cannot fault the company for delivering faster than anticipated when I questioned the length of time it suggested. The blinds were simple to put up and are powered by an app or remote control – they do give The Purge vibes, but it’s pretty cool and finishes off the room nicely.
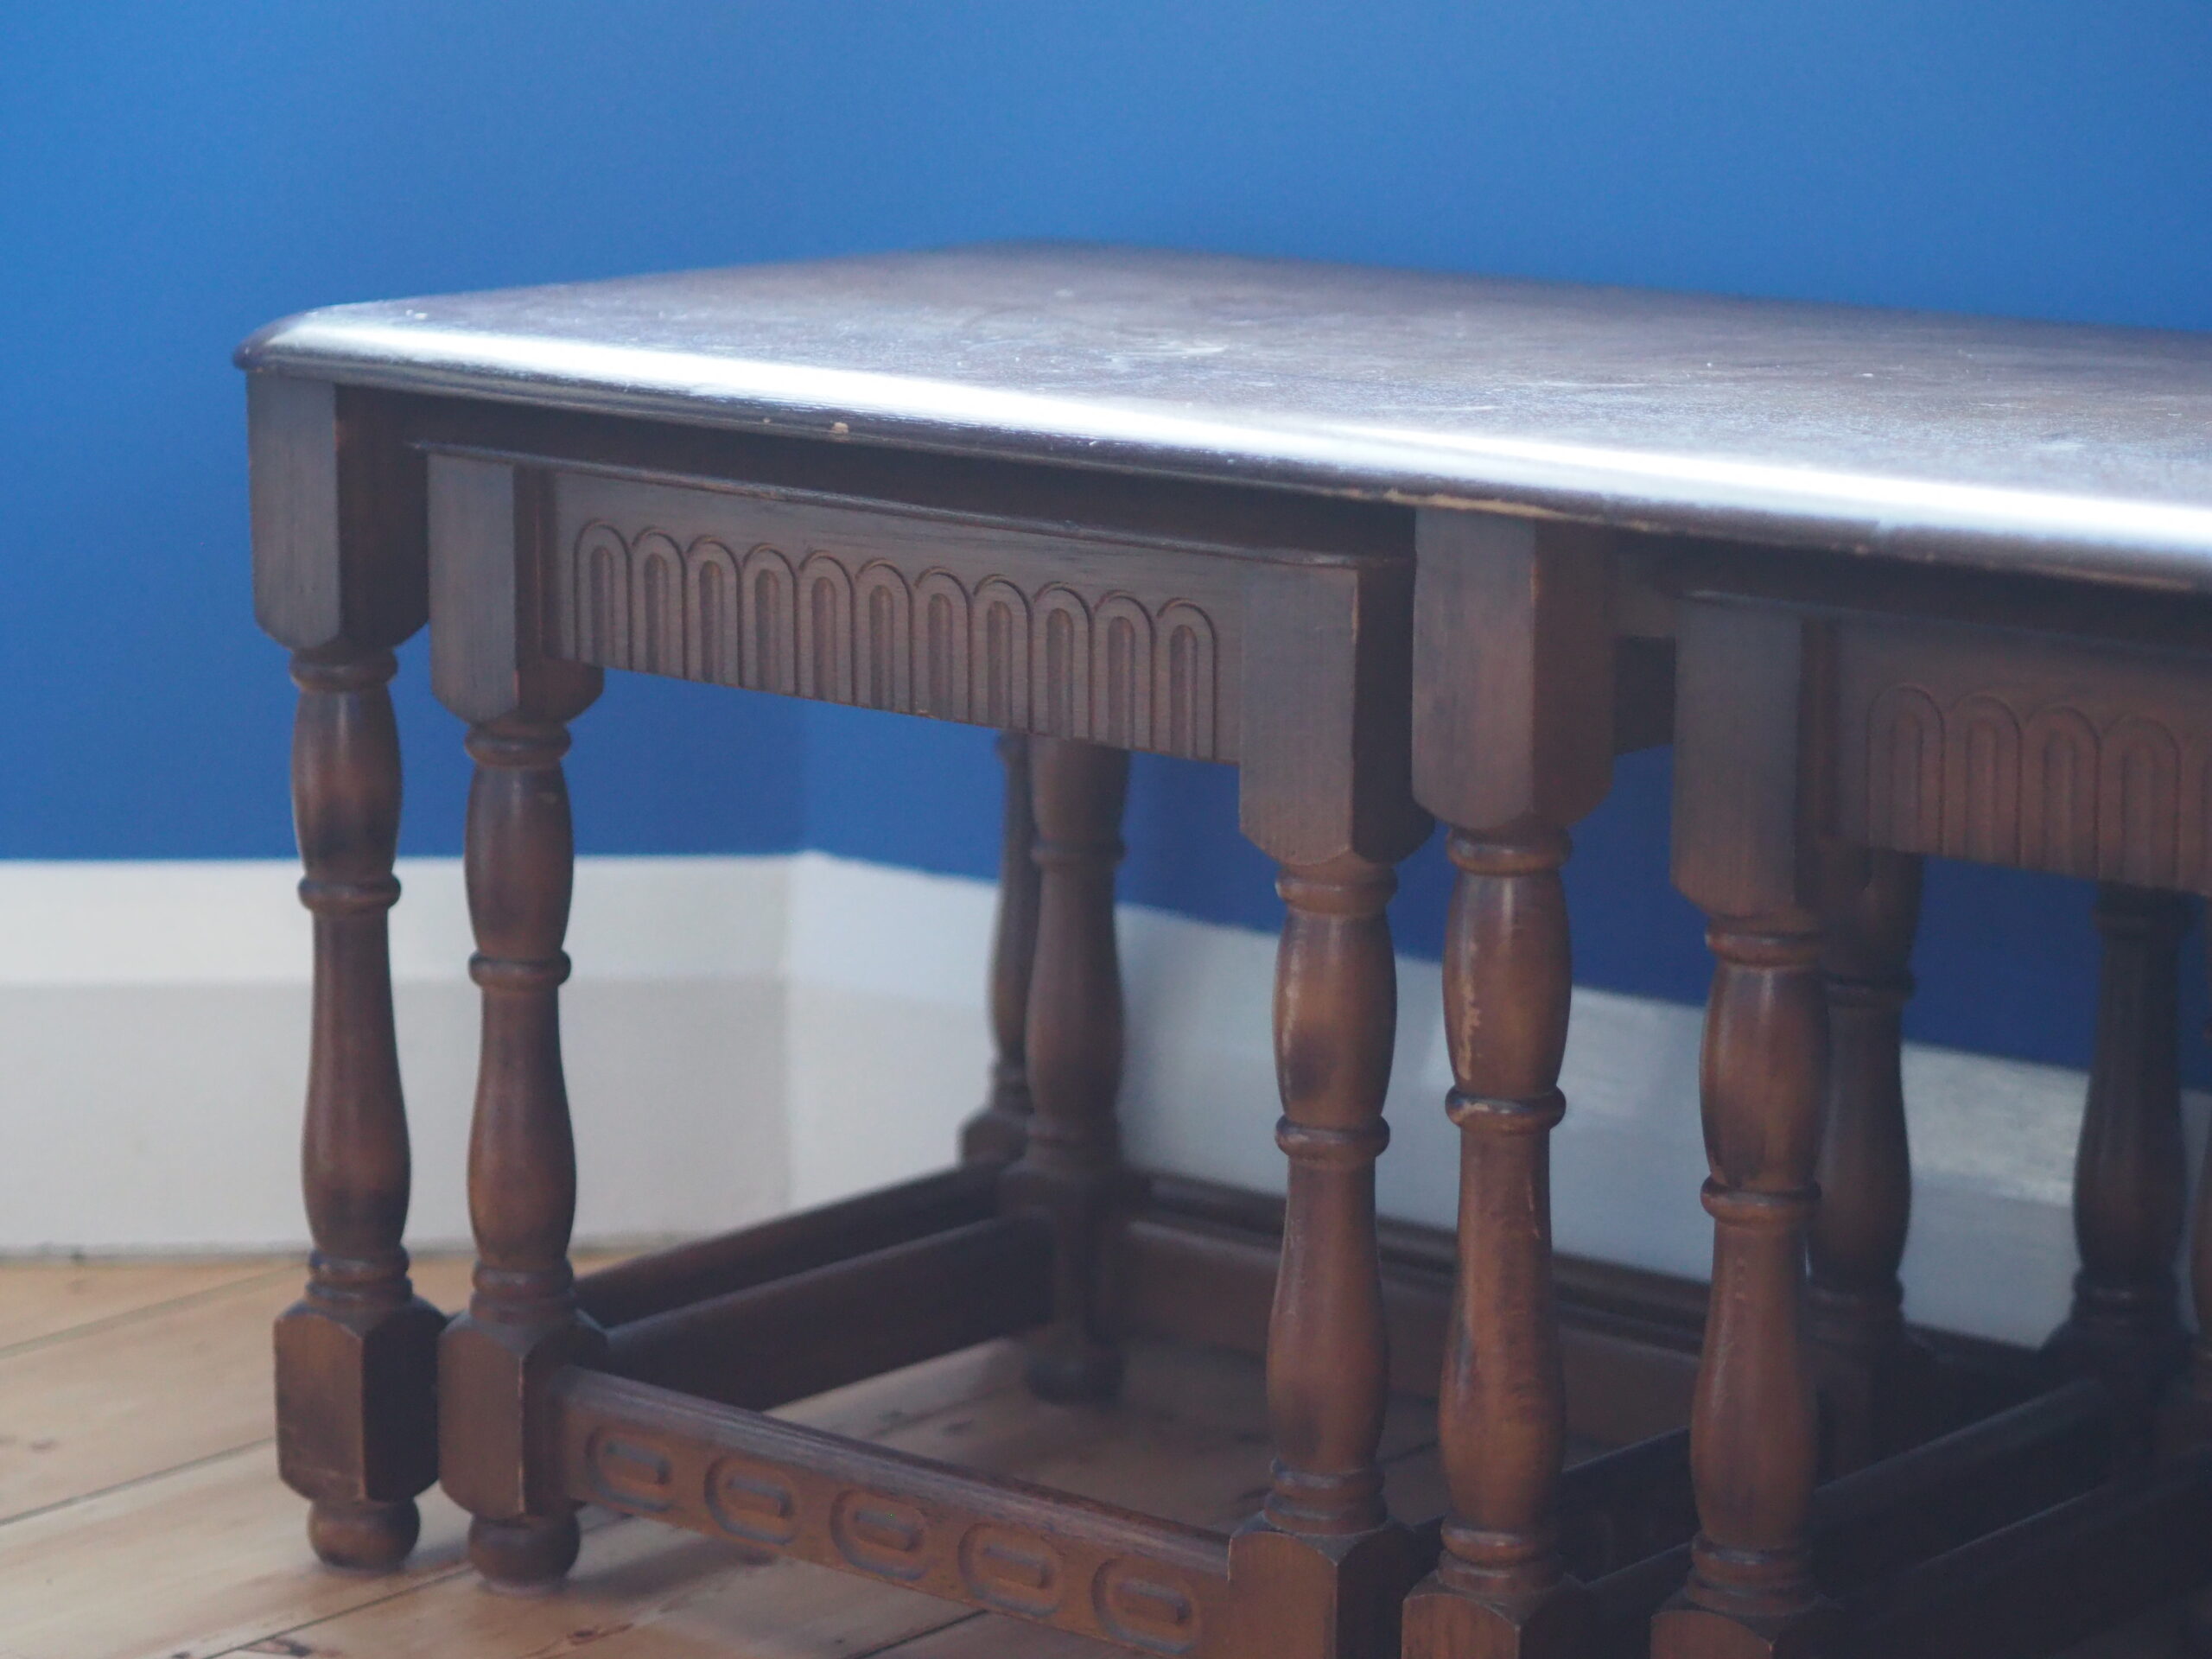
Finally it was time for us to get the furniture sorted. We had picked up a fireplace surround from Facebook Marketplace for £45, which we repainted white. Our chimney was swept and classed as safe to be used again as well. Our existing sofas were lovely but had gotten dirty from Bella being on them. We cleaned them up and managed to sell them on, leaving us a bit of budget to get some ‘new’ ones preloved from Prama – yes, my favourite charity shop came through again with a set of two brown leather sofas which go perfectly with our new lounge. I got them for £170 including delivery, which was a bargain compared to how much I would have had to pay for new sofas. I also managed to find a wooden side table, with nested smaller tables for £20 – an absolute steal!


To finish off the room, we headed to The Range and Dunelm to pick up some pieces including the Roman numeral clock, our rug and the fake cheese plants to go either side of the fireplace. We opted for a minimalist look with the wall decor and decided on three prints from Desenio to showcase some of the places we’ve visited over the years. Ideally I would like to commission a local artist to paint something to add at some point too.


I’m so pleased that the lounge is finally sorted and we are loving having our downstairs living space back again! I couldn’t recommend Victory Colours more – affordable, a wide variety of colours to choose from and a superior finish – our walls look gorgeous!

Our paint was gifted to us for the purpose of review and inclusion in this post, however all words and images are my own.


