
Contributed Collaborative Post
At-home lash extensions have gained tremendous popularity in recent years, and it’s easy to see why. Not only do they provide a cost-effective alternative to salon appointments, but they also give you the freedom to customize your lash look according to your preferences.
With a little practice and the right techniques, you can achieve professional-looking results without stepping foot outside your door.
Join us in this at-home lash extensions guide from Lilac St. as we share insider tips, step-by-step instructions, and expert advice to help you become a lash extension pro.
So, whether you’re a complete beginner or have some experience with lash extensions, get ready to elevate your beauty game!
Getting Started: Essential Tools and Supplies
Here are the key items you’ll need to get started:
Lash Extensions: Select high-quality lash extensions that align with your desired look. You can choose individual lashes for a more natural appearance or volume lashes for a bolder effect.
Adhesive: Invest in a reliable lash adhesive that guarantees a strong bond without causing any irritation. Find a latex-free and formaldehyde-free option to ensure safety and comfort.
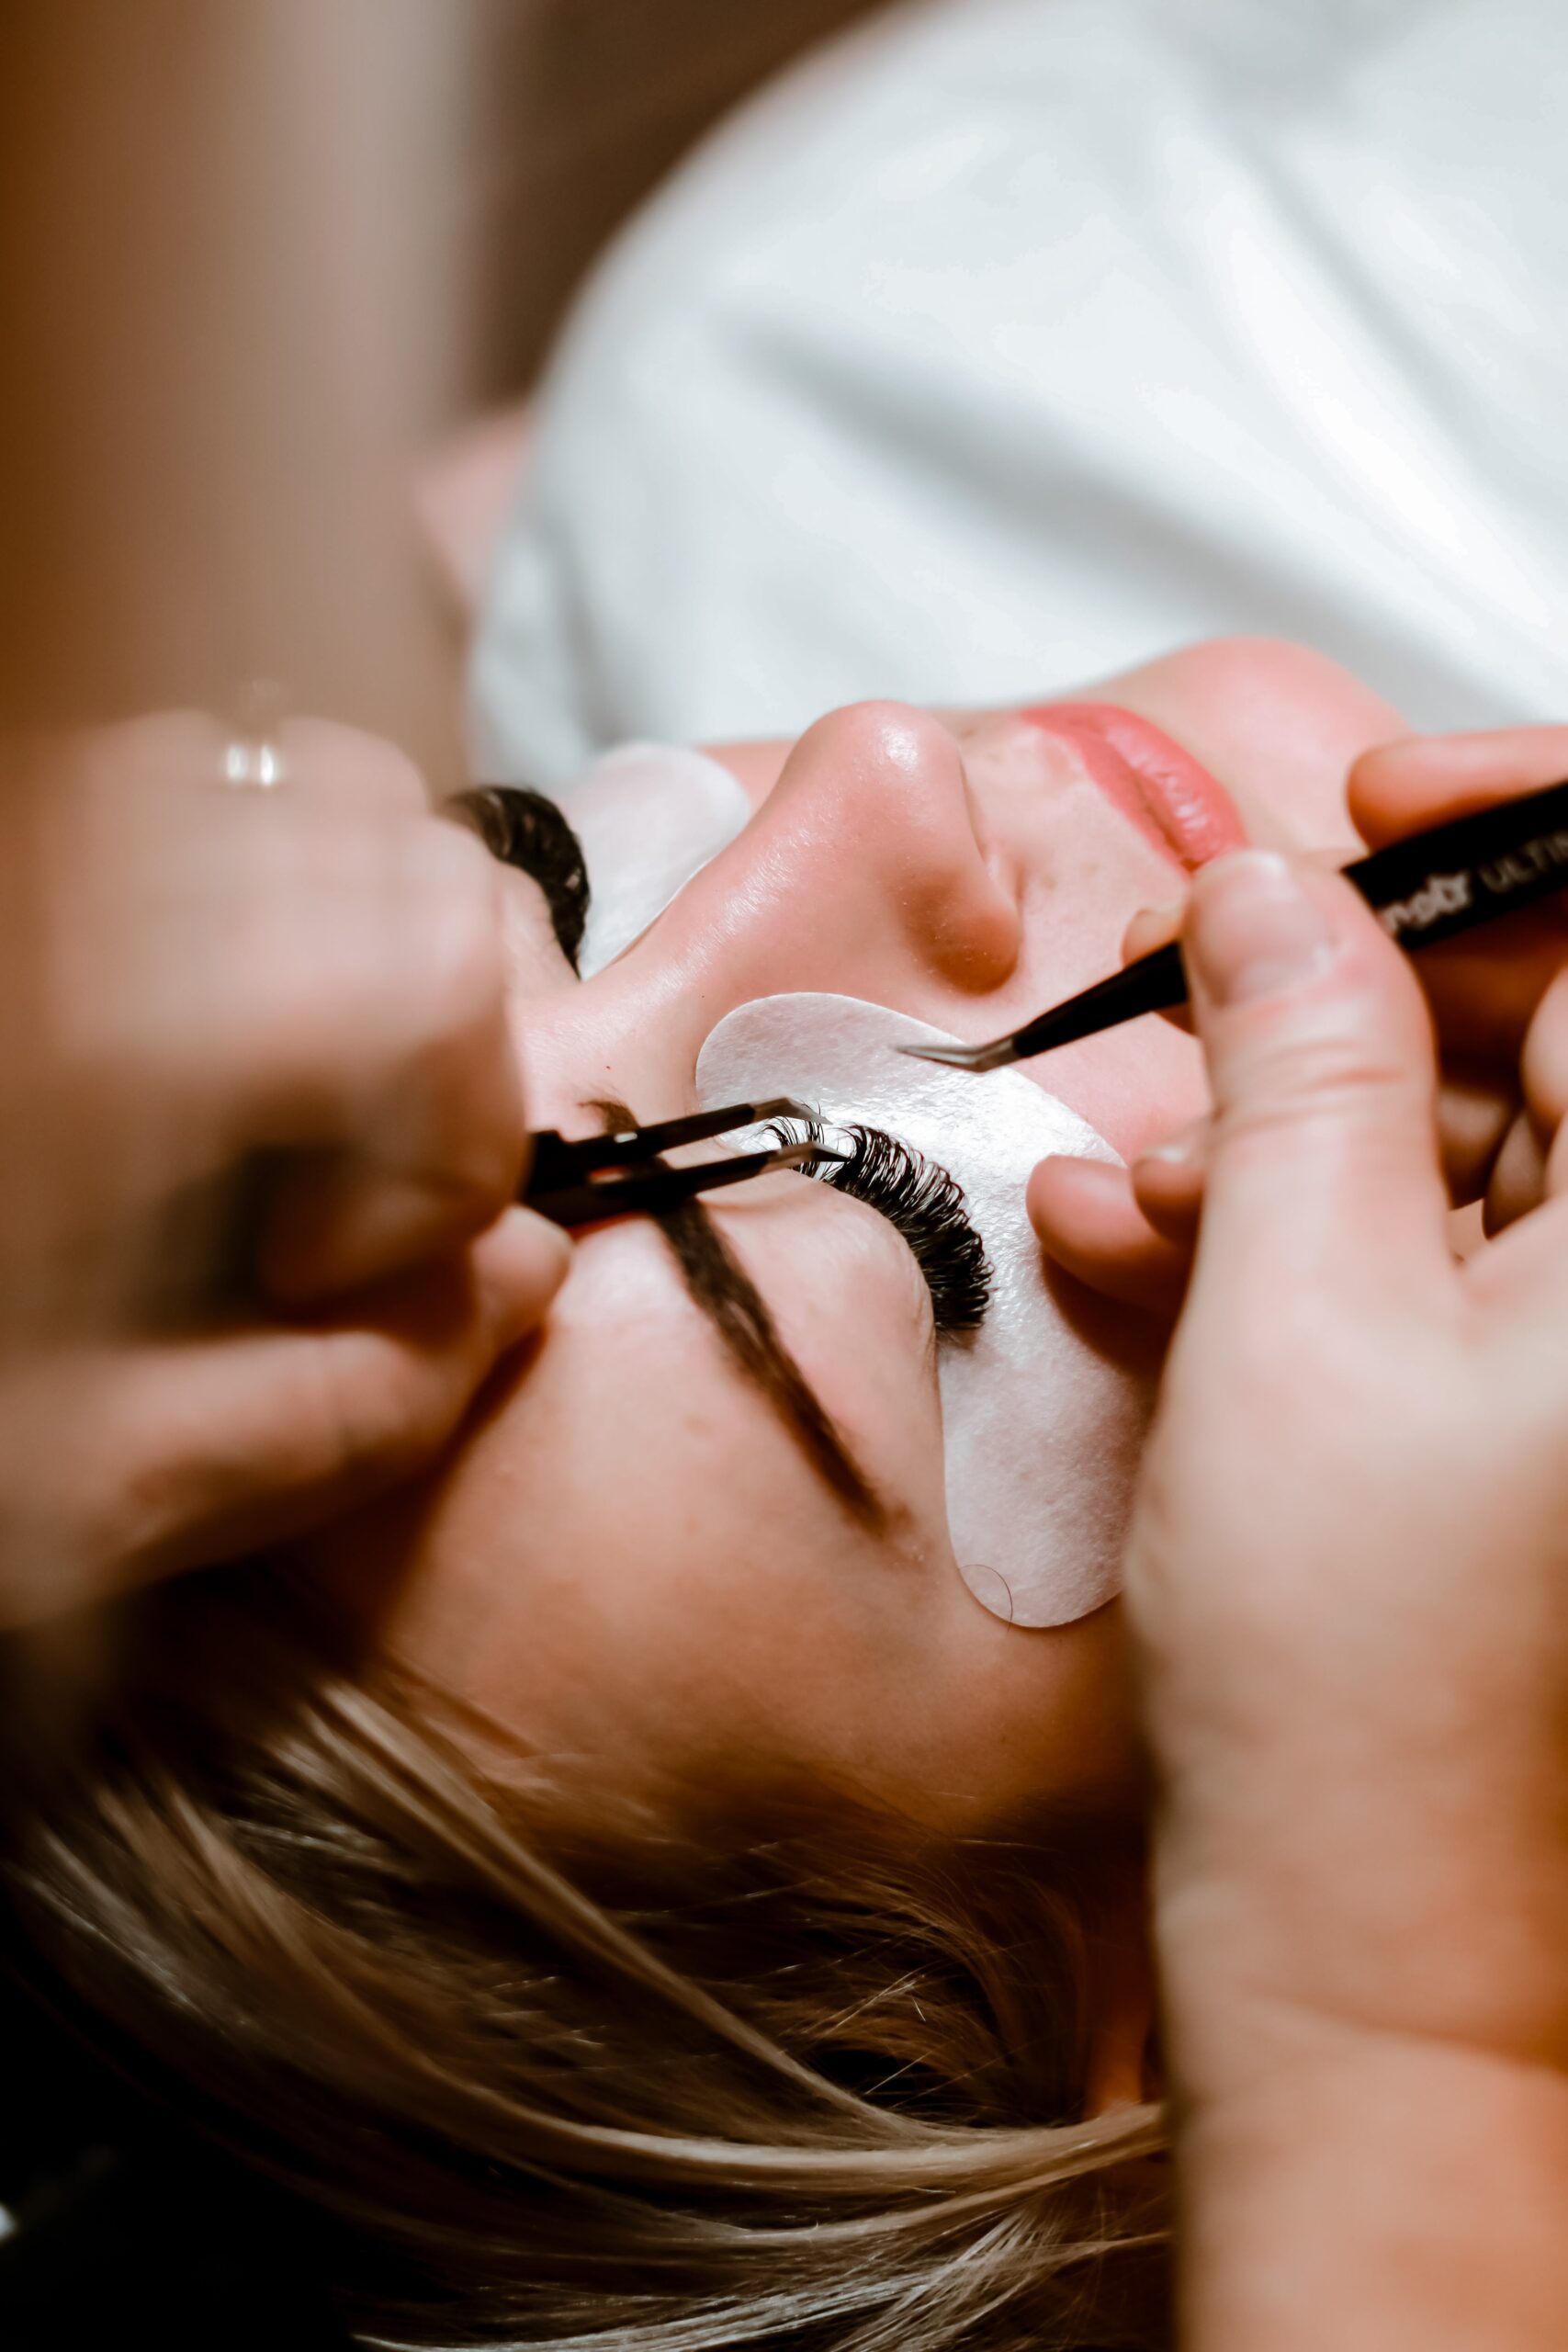
Tweezers: Get a pair of precision tweezers explicitly designed for lash extensions. Opt for fine-pointed tweezers as they enable seamless application and manipulation of the lashes.
Preparing Your Natural Lashes
Before diving into the application of lash extensions, it’s essential to properly prepare your natural lashes. This step sets the stage for seamless integration and long-lasting results. Follow these steps to ensure your lashes are ready for the transformation:
Cleaning: Begin by thoroughly cleaning your lashes and eye area. Remove any traces of makeup, oils, or residue using a gentle, oil-free cleanser. This step ensures a clean surface, allowing the adhesive to adhere effectively.
Trim (If Needed): Take a close look at your natural lashes and assess their length. If you notice any excessively long lashes that may interfere with the placement of extensions, consider trimming them slightly. Use small, precise scissors specifically designed for this purpose, and take care not to cut too short.
Condition: Enhance the health and strength of your natural lashes by incorporating a lash conditioner into your routine. Apply a nourishing lash serum or conditioner daily to promote lash growth and reduce breakage. This step not only supports the longevity of your extensions but also helps maintain the health of your natural lashes.
Choosing the Right Lash Extensions
Selecting the appropriate lash extensions is crucial in achieving your desired look and enhancing your natural beauty. Consider the following factors when choosing the perfect lash extensions:
Length: Decide on the desired length of your lash extensions. Go for shorter lengths if you’re aiming for a subtle and natural look or longer extensions for a more dramatic effect. Take into account your natural lash length and the final look you wish to achieve.
Curl: Lash extensions come in various curl types, including J-curl, C-curl, and D-curl. Each curl type offers a different level of lift and curvature. Consider your eye shape when choosing the curl, and ensure it complements your face’s features.
Thickness: Determine the thickness of the lash extensions based on your desired volume. Thicker extensions provide a more intense and fuller appearance, while thinner extensions offer a more delicate and natural effect.
Eye Shape: Different eye shapes, such as almond, round, or hooded, work well with specific lash styles. Look out for lash extension styles that flatter your eye shape, and consult with professionals if needed. You can always use celebrities for inspiration!
Step-by-Step Guide on How to Apply At-Home Lash Extensions
Applying eyelash extensions may seem daunting at first, but with practice and the right technique, you can achieve professional-looking results. Follow these step-by-step instructions to master the art of DIY lash extensions:
1. Prepare the Adhesive and Lash Extension Strips:
- Begin by carefully opening the lash extension tray, ensuring the strips remain intact.
- Squeeze a small amount of lash adhesive onto a clean, dry surface, such as a glue ring or adhesive holder.
2. Pick up a Lash Extension:
- Using your precision tweezers, gently grasp an individual lash extension near the base, ensuring you have a firm grip.
- Avoid touching the adhesive to prevent contamination and ensure a clean application.
3. Dip and Coat:
- Dip the base of the lash extension into the adhesive, ensuring a thin, even coating along the base.
- Don’t overload the lash extension with adhesive, as this may result in clumping or discomfort.
4. Apply the Lash Extension:
- With a steady hand, bring the lash extension close to your natural lash line.
- Align the lash extension with a natural lash, about 1-2 millimeters above the root, and gently press it in place.
- Hold for a few seconds to allow the adhesive to bond securely.
5. Repeat the Process:
- Continue the process of picking up, dipping, and applying lash extensions one by one, working from the inner corner to the outer corner of your lash line.
- Aim for a seamless blend between your natural lashes and the extensions, ensuring even spacing and symmetry.
Remember, practice makes perfect. Take your time, work methodically, and adjust the placement as needed to achieve your desired lash look.
This is a contributed collaborative post.


